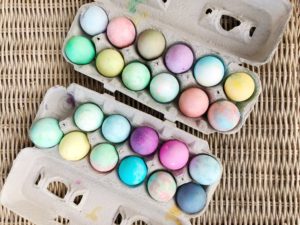
After the Egg Hunt on Saturday we decided to dye Easter Eggs! I have always done eggs the old fashioned way, but this year wanted to try with whipped cream. Well, Cool Whip to be exact. This was so much fun and provided some great (and yummy) sensory play for the little kids too. I swear it was also easier to clean up. So a win-win for everyone!
Ingredients:
Hard boiled eggs- however many you choose, we did 24
Food coloring
Cool Whip or Whipped Cream
We used 2 containers of Cool Whip for 2 dozen eggs
Here is how we did it:
Boil eggs. Use whichever method you like! I just cover mine with a bit of water, let pot come to a boil. Once boiling, remove from heat and cover for 10 min. Let eggs cool. You can prepare these well in advance.
When you are ready to decorate, make sure you let the Cool Whip thaw if it is frozen. Divide into even sections on cookie sheets or bowls. Mix drops of food coloring into each section and mix. Keep adding coloring or mix and match until the color is to your liking. Don’t mix all the way if you want a more marbleized look. Meanwhile, soak each egg in a cup of vinegar for 1-2 minutes. Dry with paper towels.
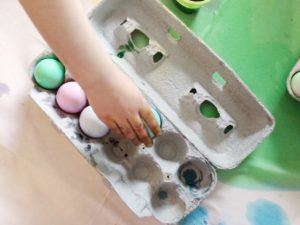
 Time to decorate! Let the kids have fun rolling the eggs in one color or many! We rolled each egg in about 3 colors to get the marbled, tie-dye effect. Place the eggs back in the egg carton and let dry for at least 30 minutes. Wipe dry with a paper towel and voila! I have to admit, I was so skeptical this was going to work, but it absolutely did!
If you like the bright colored Easter eggs, I would use dye all the way. We love these little kits and the come with seeds for the kids to plant when you are done. We did some traditional dyed eggs in bright pinks and purples and I can’t stop looking at them.
Have fun and happy Easter!
PS- we spilled tons of dye (hello toddlers) and it leaked through the table cloth onto my white kitchen table. A little dish soap and lots of scrubbing DOES get it out 🙂
